Showing posts with label stamping. Show all posts

Sunday, September 11, 2011

Tension of the Opposites

In last week's Pattern Design class, we explored aspects of our individual design with paper and scissors, using the concept of 'Notan'.Notan is a Japanese word for balancing light and dark or positive and negative space. For the exercise below, I tried to create a balanced tension such that I can look at the design and first see black as the foreground and then blink and see the white as the foreground, instead.

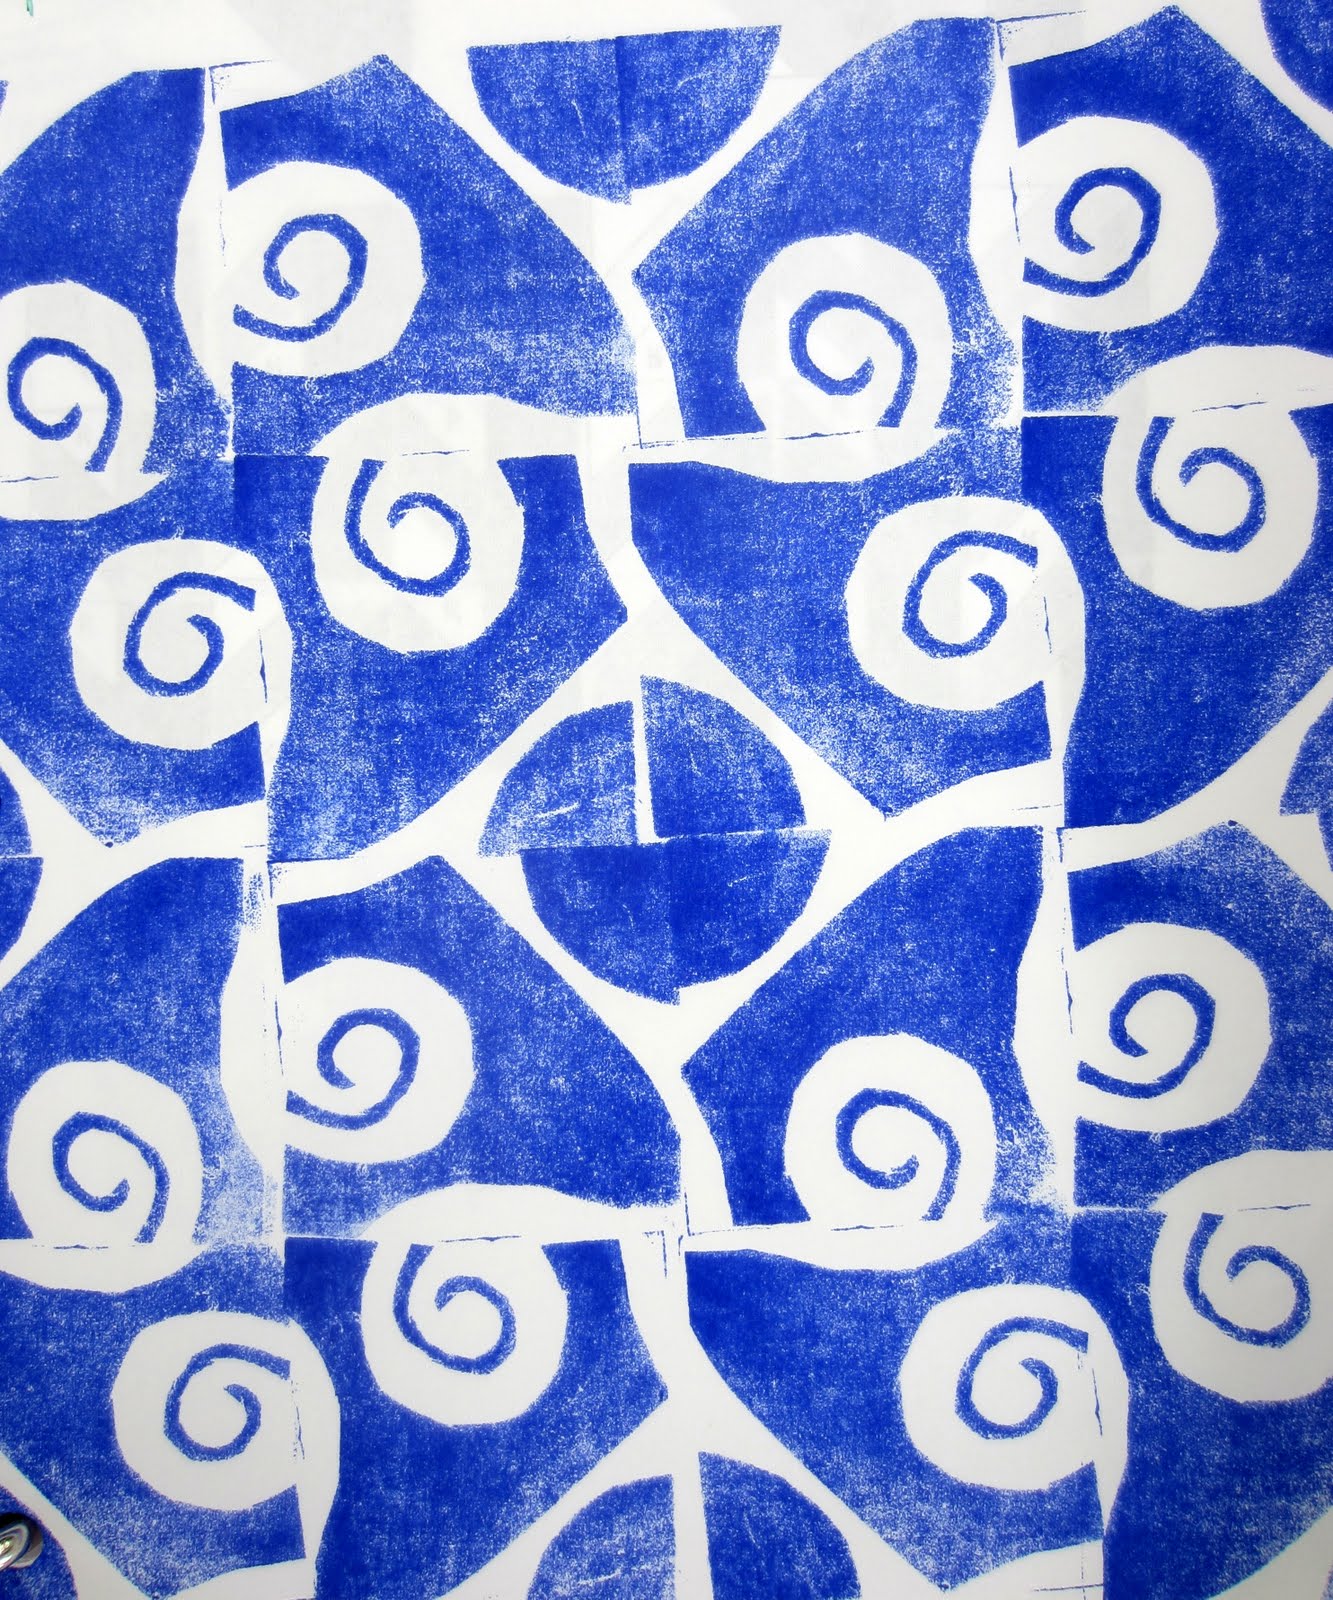
And then we moved into colour, using stamps we made of our designs on fabric.


This one is on a sheer and left the same image on the plastic below as it seeped through, so I made a monoprint, too.


Thursday, September 1, 2011

Dream Dyeing

I am in love with this and the wild thrill I feel about it has me dreaming of what it might grow into. It reminds me of the flicker feather I embroidered and all that symbolizes to me. Here is the other side:

These leaves had already dyed silk in a previous post and I've got them working on some more cashmere to see what happens next.


More exploration of symmetry on paper with a stamp I made in today's Pattern class.


Sunday, August 28, 2011

Stitch, Paper and Pattern

Stitches aloft... And stitches on the ground.

These toilet paper castings really pick up texture and are so easy and fun - although they take a long time to dry. I've stitched through the one above to make a card with it.


And here I've made a stamp and am using it to explore symmetry in the pattern design course that I'm taking.

Pattern is a fascinating and complex subject!


Tuesday, April 19, 2011

Rounding Out

A few more photos I took on the retreat:

On our way home, we stopped by Studio G - Gloria Daly's spacious new studio and workshop venue - where Martha Cole was teaching and we were able to see some of the book art participants were making.


While away, I also explored the beginnings of a thread mandala, but am not sure I will carry further with it, as ones I do in felt pens or pencil crayon feel more satisfying. Covering ground with thread is a much slower process. Maybe if I don't draw on the silk first it will feel more alive - or maybe I could create it with dye or other colour first and then handstitch.


I also explored dyeing silk over bars for texture and then rotating it and dyeing again to make a grid. Then I used a ring stamp I made on the wet fabric, so the colour on it expanded.
Small experiments teaching me what's possible.


Wednesday, January 26, 2011

Roses in Winter

Roses aren't blooming outside, but inside is a different story... I used my stamp on these fabrics in the Mark Making course, yesterday.
We are also doing a variety of free motion sewing exercises and delved briefly into differences between patterns.

Friday, May 22, 2009

Stamping Stories


Last night I participated in a stamp making workshop along with my art quilt group, instead of doing our regular monthly meeting. I've cut stamps before, so this was really an opportunity to make a few more. I was hoping to learn something about layering stamps - designing with them - but I can do that at home and have time for the paint to dry in between stampings - and also have access to my other supplies such as foil. I work better alone, although the real value of working in a group is the learning from what others do - plus the energy and social aspect, of course. I was surprised that stamps cut shallowly still showed up so well. For the top photo with the deco-style flower, I used pencil on tracing paper to transfer the design which I copied from part of a stained glass pattern. The stamp is made from craft foam, cutting the outside edges with an exacto knife and using a pencil to indent the inside lines. I didn't attach it to a block of wood and I think it still printed very well. The next double flower was done the same way but using thicker 'speedy cut' and a lino cutter for the inside lines. It's attached to a wood block, but when I stamped it onto cardstock, some of the petal edges didn't print well. I had another stamp I made by indenting with a pencil that was made from a styrofoam tray, but once painted, it really didn't transfer well. The green stamp on the turquoise fabric is made from a thinner foam with a sticky back you peel off. I drew the design directly onto the material and then cut it out and indented it, and then stuck it onto a rectangle of another layer of thin foam and put them both onto a wood block. The shape is very simple, but complexity and interest can be added by varying the direction of the stamping, altering paint colours and spacing. While I use various techniques such as stamping, foiling or oil stick rubbings on my quilts as the need arises, I would like to make a piece of wholecloth with various techniques that pleases me.

Tuesday, January 6, 2009

Surface design


I've been wanting to paint and stamp for awhile now and today became the day for a little experimentation. I plan to do some surface design every week. I used a piece of brown velvet and a mixture of types and brands of paint - both fabric and acrylic. After painting the little crochet piece I wondered if it would make a good stamp and tried it on a piece of paper towel. I like the result. For the square cotton piece I used a foam brush, rubber comb, a foam-tipped applicator and a pipette.
When colouring these pieces, I had nothing in mind and it would be interesting to instead use something to work with as a source of inspiration - even if it was just particular colours. I imagine adding stitch to make them more interesting - possibly shiva sticks, foils or beads. I could also see creating a 'stamped' quilt top with the crochet squares - they're like mini-mandalas.
I also read part of a book about design and I notice how I think about the various elements when I stamp and paint.